Prepare to set your taste buds on fire, with this delicious Peri Peri Chicken recipe. I often found myself daydreaming and drooling at the thought of biting onto succulent pieces of Peri Peri Chicken from Nando’s until I finally tried this amazing recipe. And since that day I have been determined to make even a better version of their Peri Peri Chicken. After quite a few attempts, I was finally able to match the same taste, but I still had something else on my mind. My desire to create something better than Nando’s is what led to the creation of this mouthwatering chicken recipe.
If you too find yourself dreaming about Nando’s then you are definitely in for a treat with this recipe. This recipe for Peri Peri Chicken is packed with the goodness of chicken and a combination of bold and tangy flavors, which make it a total game changer.
So are you ready to spice things up a little inside your kitchen? Then join me as I teach you to make the best version of Peri Peri Chicken that tastes even better than Nandos. Let’s start to make Peri Peri Chicken Recipes.
What makes my Homemade Peri Peri Chicken Recipe better than Nando’s
There are plenty of reasons that make this Peri Peri Chicken, a favorite of mine. From customizing spice levels to fresh ingredients, everything about this recipe makes it a flavor mania that you are going to love. Here are some of the reasons why I adore this recipe so much:

Customizable Spice Level
One of the best things about my Peri Peri Chicken recipe is that you can adjust the heat or spicy levels as you like. Whether you like it to be fiery spicy or just a mild level of spiciness, everything is possible with this recipe. For a milder flavor, reduce the amount of bird-eye red chilis.
No Artificial Ingredients
Another good thing about this recipe is that it does not have any artificial additives, unlike your favorite chicken store. When you make any recipe at home, every ingredient is well known to you and with these trusted ingredients whatever you make is always a step ahead of the store-bought ones.
Easy on the pocket!
Why spend so much on something that isn’t even healthy for your body, when you can make an even better version of it at home? With just a few ingredients and some time, you can make the best version of Peri Peri Chicken that is better in terms of flavor, and also in terms of healthiness.
Fresh and flavourful peri peri sauce

The secret behind the flavor-packed and robust taste of this recipe lies in its marinade. A combination of the spiciest and tangiest ingredients, this marinade is the soul of the Peri Peri Chicken. These flavors combine and sink deep into the meat, making it taste even better.
Tips from my kitchen to yours
To make the best Peri Peri Chicken, follow these amazing tips. Each of these tips is based on my experiences with making this recipe multiple times, and to make sure that you don’t make the same mistakes as I did, here’s a list of things that you need to take care of while making this Delicious Peri Peri Chicken:
Choose the best Chicken!
To create the most flavourful and juiciest version of this Peri Peri Chicken, it is essential to select the best kind of Chicken. The most important thing to look for is freshness, choose fresh chicken legs with good quality cuts, as these will provide the best flavor and texture to the dish.
You can also use chicken breast, chicken thighs, or chicken wings as per your preferences but avoid chicken with any kind of foul smell or slimy texture, as these indicate rottenness.
Master the Marinade
The secret behind a lip-smacking and flavourful Peri Peri Chicken lies in how seriously and carefully you prepare the homemade peri peri sauce. Since all the flavors are combined in the sauce, it is important to make sure that the ingredients are in the right proportion.
Another thing that you would want to keep in mind is that letting the marinated chicken rest for at least 2 hours is a crucial step in achieving the best results. Generously massage the marinade onto the chicken and let them rest for a while, this will make the flavors sink deep into the meat, resulting in a burst of flavor with every bite.
Cook the right way!
To achieve the best results, you must cook the chicken in just the right way. For this, make sure to cook the chicken first in a cast iron skillet or a grill pan, to achieve a crispy skin, cook in batches to achieve perfection.
Another crucial thing is to keep an eye on the chicken while it’s cooking in the oven and flipping it at the right time. This will ensure that the insides are cooked perfectly without burning the skin.

Serve better
A good presentation can enhance the flavours of any dish and the same is true with this delicious Peri Peri chicken recipe. You have created this amazing recipe with effort, and now it takes a couple more minutes to make it look more appealing to the eyes.
Serve the Peri Peri Chicken with your favorite sides and drinks to create a wholesome treat. There is a wide variety of options you can choose from, like coleslaw salads, piri piri fries, rice, etc.
For additional spiciness, try drizzling some peri peri sauce on top, garnish with fresh cilantro, and enjoy.

Peri Peri Chicken Recipe (Better than Nando’s)
Ingredients
For seasoning the chicken
- 4 Whole / 500 g Chicken leg pieces (skin on)
- 1 tsp / 6 g salt (1/2 tsp each side)
- 1 tsp / 2 g black pepper (1/2 tsp each side)
For the peri peri sacue
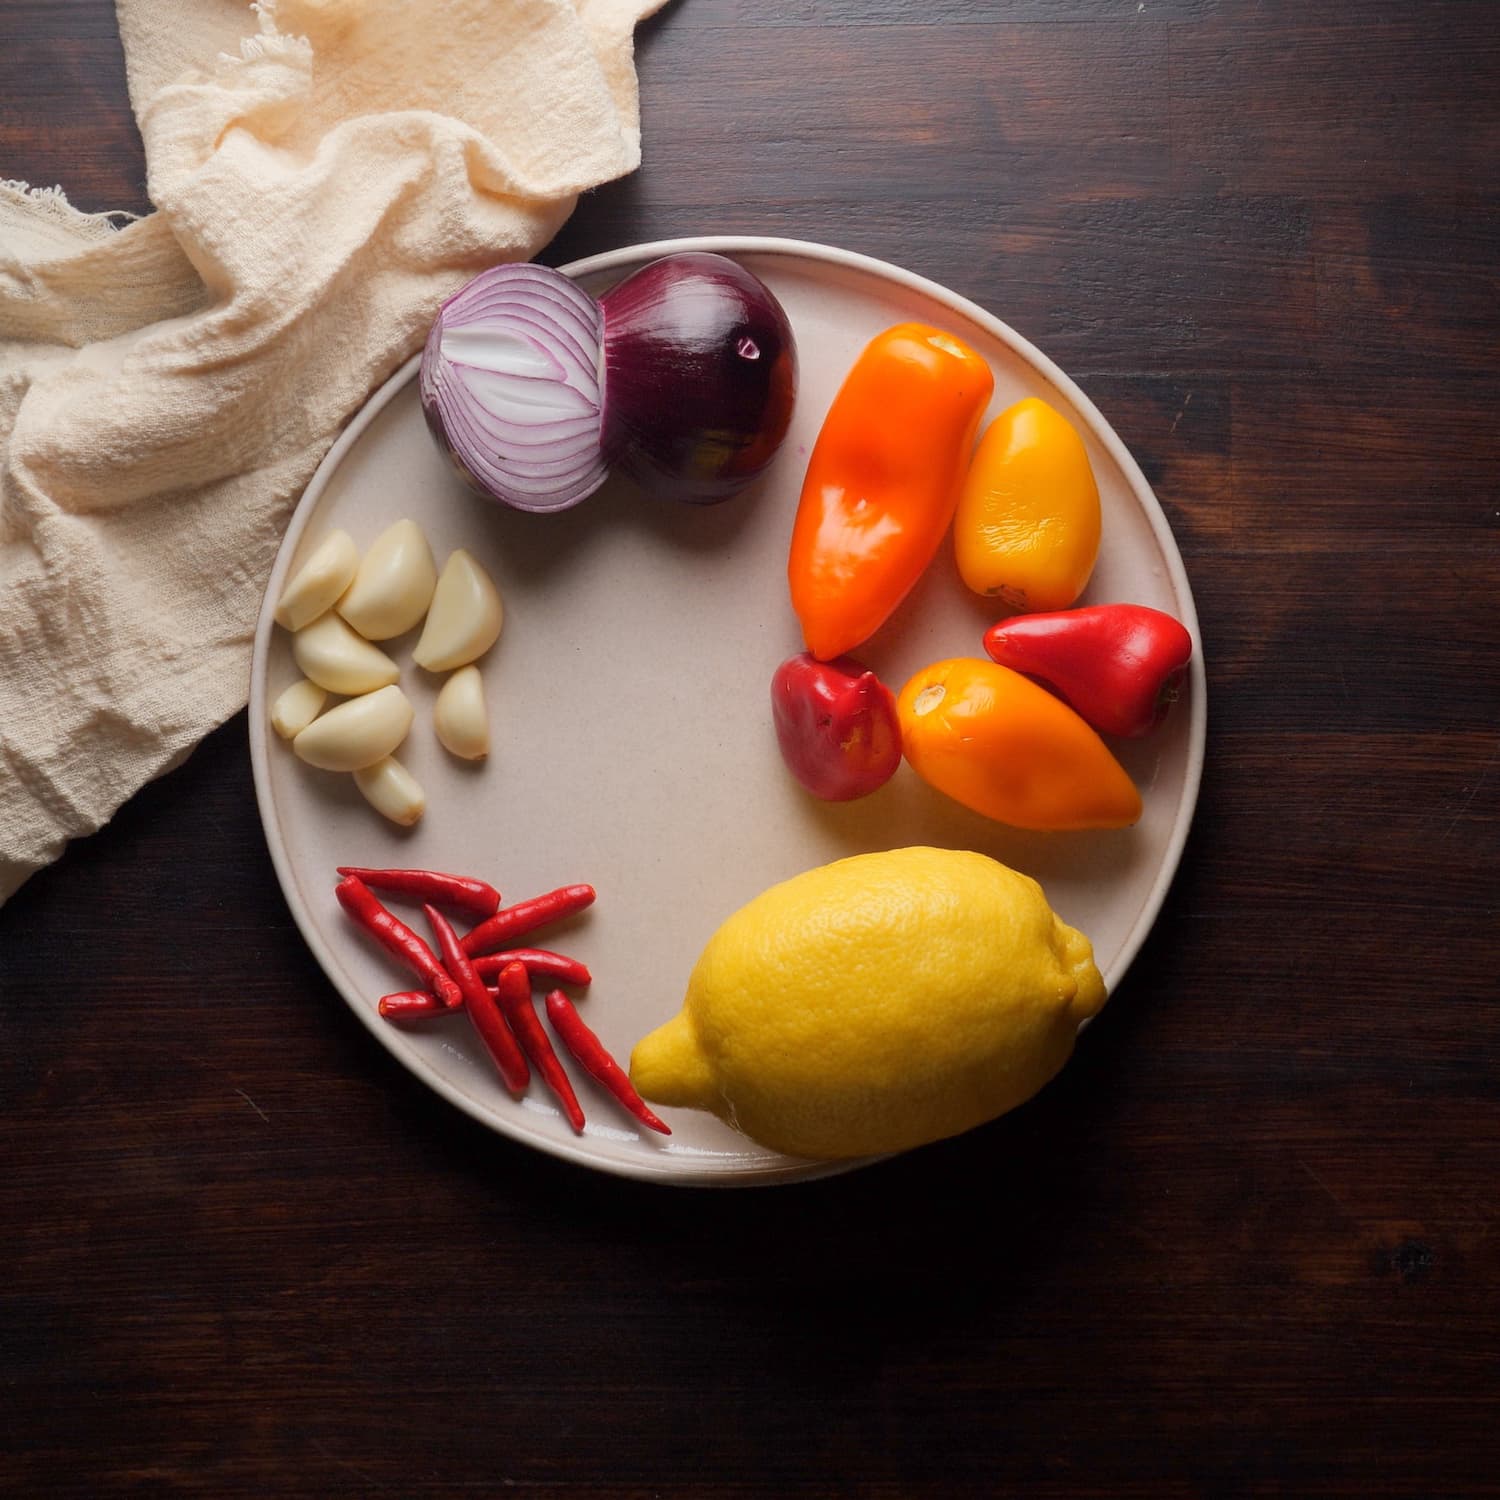
- 1 medium size onion
- 8 cloves / 8 cloves garlic
- 8 units / 8 units birds eye chilies
- 5 units / 5 units mixed peppers
- 1 tsp / 6 g salt
- 1 tsp / 2 g black pepper
- 1 tsp / 4 g brown sugar
- 1 tsp / 2 g oregano
- 1 tsp / ⅛ g mixed herbs
- 1 tsp / 2 g smoked paprika
- 1 tsp / 2 g chili powder
- 1 tbsp / 16 g tomato paste
- 1 tsp / 2 g lemon zest
- 4 tbsp / 60 ml fresh lemon juice
- 4 tbsp / 60 ml white vinegar
- ½ cup / 120 ml vegetable oil
- ¼ cup / 4 g chopped coriander
For frying the Chicken
- 1 tbsp / 15 ml cooking oil
Instructions
Preheating
- Preheat your oven to 400 F or 200 C.
Prepping the Chicken
- Start making this delicious Peri Peri chicken with a simple yet significant step of seasoning the chicken. Place the chicken pieces in an aluminum tray, sprinkle half a teaspoon of salt and freshly ground black pepper on each side, and rub it all over them. Flip the chicken and repeat on the other side. Give all the pieces a good rub. Set aside.
Making the Peri Peri Sauce
- Add in the onions, garlic, chillis, peppers, and all the ingredients mentioned in the sauce list above in a blender. Blend them out into a smooth paste.
- Next, pour the prepared sauce over the seasoned chicken pieces. Make sure to do so in batches, pour half of the paste, and then give the chicken a good mix then cover the pieces with wrap and marinate overnight or at least 2 hours.
Cooking the Chicken
- For the next step, heat some cooking oil over medium-high heat in a cast iron skillet or a grill pan, whichever is doable. Place the marinated chicken pieces into the pan and let them cook for 4-5 minutes each side.
- Repeat with all the pieces. Once all the chicken is cooked and has achieved a golden brown color on the outside, take them off the heat. Transfer them to a large mixing bowl and pour the leftover marinate that was left behind into the mixing tray.
Baking Time!
- Cover the chicken in the marinade and place them on another baking tray. Brush the chicken with leftover marinade on top of each piece and sprinkle some oil generously on top. Place the tray in the oven.
- Cook for about 30-35 minutes in a preheated oven at 400 F or 200 C. After 25 minutes of cooking, brush some more marinade on top of each piece and let them bake again.
- Once cooked, spoon the oil floating in the tray and pour it on top of the chicken. This will help in making the Peri Peri Chicken, even more delicious and juicier.
- Serve along with your favorite sides or dips and enjoy your Peri Peri Chicken.
Video
With a little culinary excitement and a lot more love for Peri Peri Chicken, you can create a better version. The recipe isn’t all about copying your favorite restaurant but creating something so delicious and yet filled with goodness, a dish that is a cut above. So what are you waiting for then, run to your kitchen and get started!


Leave a Reply